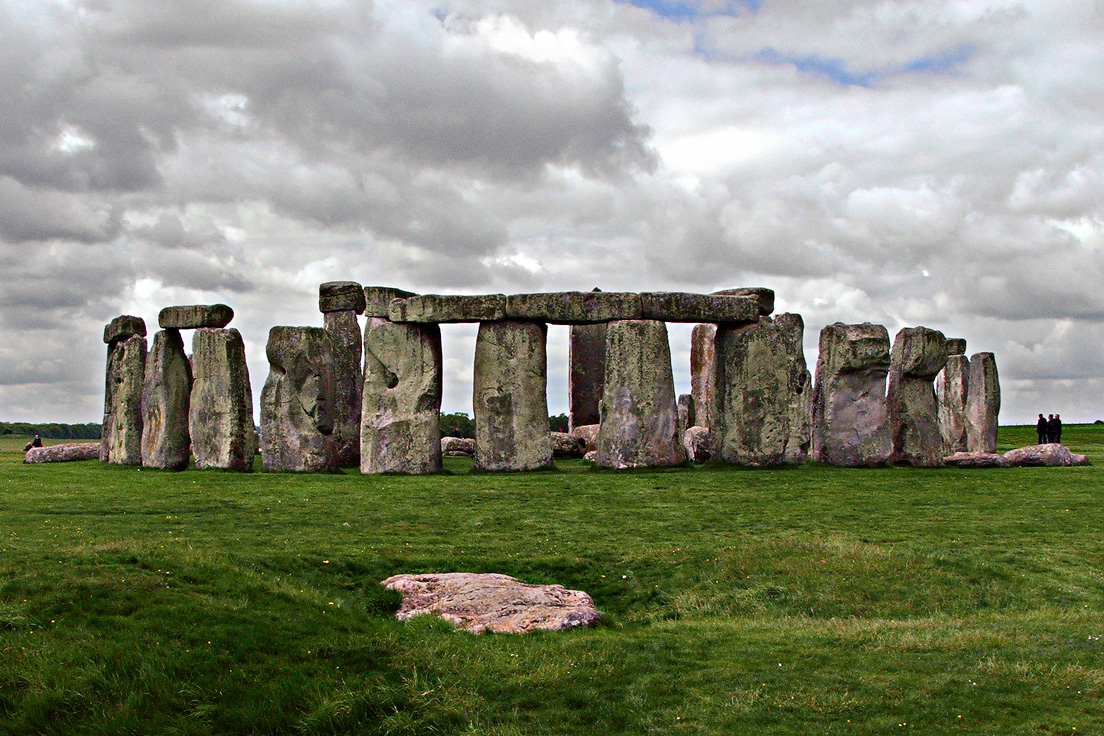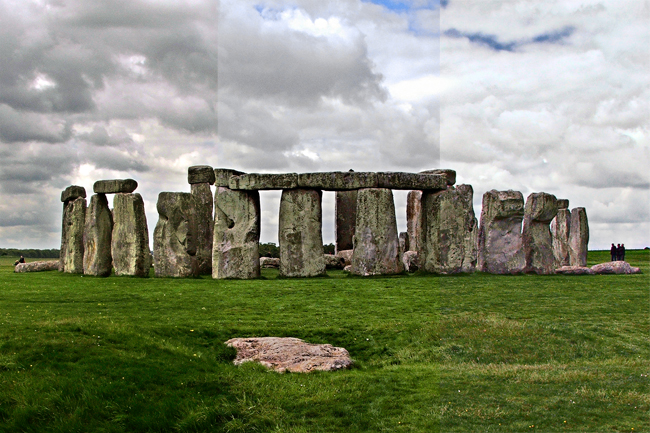
Three versions of a single image stitched together. Left to right: MO, DB, GA.
In Color Correction it is a wise strategy to produce multiple versions of a single image (that is: to correct the same picture few times collecting different variations), then blend them together in a number of ways – to get the better of each one. This doesn’t necessarily involve that it must be the same person the one in charge, as my dear friend Marco Olivotto stated in a beautiful manifesto on collaborative color correction called Three Heads are Better than One.
Although masks and blending modes may be required, the easiest blends of all (33-33-33 or maybe 25-25-25-25) can be difficult to obtain, unless you know the trick!
The 50-50 blend of two layers is a piece of cake: you set the bottom to 100% opacity and the top to 50%. It’s a bit different if you’d like to blend three layers 33-33-33. You’d be tempted to set the background to 100% and the two above to 33% (or 50% perhaps?) – but you’d be wrong!
Let’s say you’ve three versions to blend (i.e. three layers) and you want to give the same weight to everyone.
Smart Objects and Stack Mode
One method is to select them all, create a Smart Object containing the three layers, then (if you have Photoshop Extended), select in the menu Layer > Smart Objects > Stack Mode > Mean. This is doubtless a neat way, yet you may find this workflow a bit tedious (S.O. are a pain of slowness and add unnecessary complication for this task). And you need to have an Extended version of PS.
Opacity ramp
The fastest way (because we’re always in hurry and/or we may just want to give the blend a quick try) is to set each layer opacity.
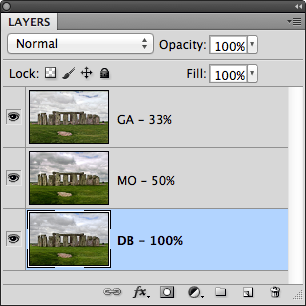
It’s not that obvious what percentage to assign to them. For three layers the numbers (bottom up) are 100%, 50%, 33% like in the screenshot at left – and the very easy general formula to use is
OPACITY = 100 / LAYER POSITION
That is, the background layer (at the very bottom) is in position one, so its opacity is 100/1 = 100. The second layer, above it, is in position two, so the opacity is 100/2 = 50. And the third, in position three as the topmost layer has an opacity of 100/3 = 33.
To save you some time, the ramp for 10 layers goes like that: 100, 50, 33, 25, 20, 17, 14, (12), 11, 10.
Actually 12 should be 13 (since 100/8 = 12.5), but I’ve chosen 12 to keep the slope smoother (up to you). Anyway: if you need mathematic precision and the layers’ number you’ve got to deal with is about 8 or more, go with the Smart Object way; otherwise opacity it’s a fair compromise between speed and precision!
Just a tip that may come handy from time to time. And if you want to know how Marco blended the three versions to reach the final picture, go read the original post and find out why 1+1+1 > 3.